There are many different options and configurations you can do with the Pro version of the plugin. We tried to make the plugin as flexible as possible as we know that all events are unique. This how-to will discuss some of the options and customizations you can set for an event.
Adding an Event
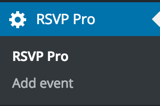
The first step to creating an event is by clicking “Add Event” in the admin menu:
Once you click “Add Event,” you will be presented with the general settings screen. This is where you can specify settings that will impact how the event works.
We will start with the required settings.
Event Name: This setting is the name of the event, it will be displayed on the front-end, in the admin area, and in the email notifications.
RSVP Open Date: This setting specifies when attendees can start to RSVP for an event.
RSVP Close Date: This setting specifies when attendees will no longer be able to RSVP for an event.
Those are all of the required settings for an event. With this information, you will get a simple event for which people can RSVP.
Some other settings on the general tab are described below.
Parent Event: Selecting a different event as a parent will make the current event a sub-event, and the attendee list will be shared from the parent to the child event(s). This is often used if you want to share attendee lists and you want all of the events to be RSVP’d to on a single form.
Specify roles that can access configuration functionality: This setting limits the WordPress roles that can access any of the settings or configuration functionality on the admin side. This was initially created when you have users who should be able to manage attendees but nothing else about an event.
Attendee Access to Event: This setting specifies if anyone on the attendee list can RSVP or if only specific people on the attendee list can RSVP. This can be useful when you have sub-events or a global attendee list to narrow down the allowed people to RSVP.
Attendee Access List: This is used when the attendee access is set to “Select.” Only the attendees in the “attendees who have access” area will be able to RSVP.
Surfacing the Event to Attendees
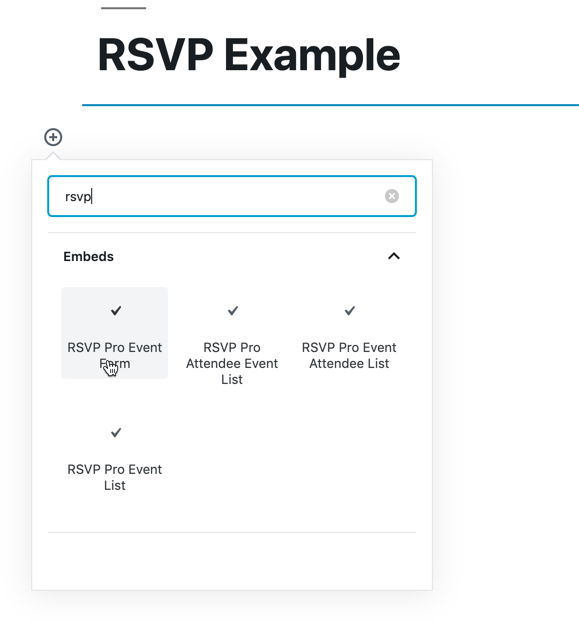
Now that we have an event, we need to add it somewhere so people can RSVP. Navigate to a page or post and search for “rsvp” in the Gutenberg blocks and select “RSVP Pro Event Form” like below:
Once the block is added there will be block settings on the sidebar allowing you to select the event.
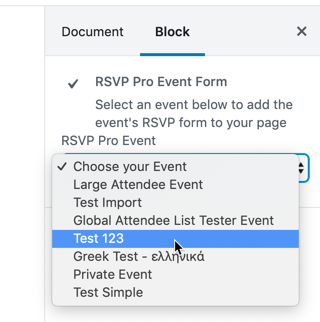
Once an event is selected hit update and the form will now be part of the page or post you added it to. You can have any content (text, images, etc..) surrounding the RSVP block.

If you ever have any questions feel free to contact us, we are here to help!