The RSVP Pro plugin has many different ways to send emails to all or selected attendees. This document details those two methods.
Specifying Which Attendees Receive A Message
The first way is from the event list area. Under each event there is a “send message” link, as shown below: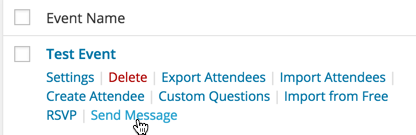
When you use this link to compose a message, you can send a message to all attendees who have entered in an email address.
The second way to send a message is when you are on a specific attendee’s edit screen, there is a button at the bottom to “Email Attendee.”
Sending the Message
Once you have selected a group of attendees to receive your email, you will be taken to a new screen to write your message. An example is below: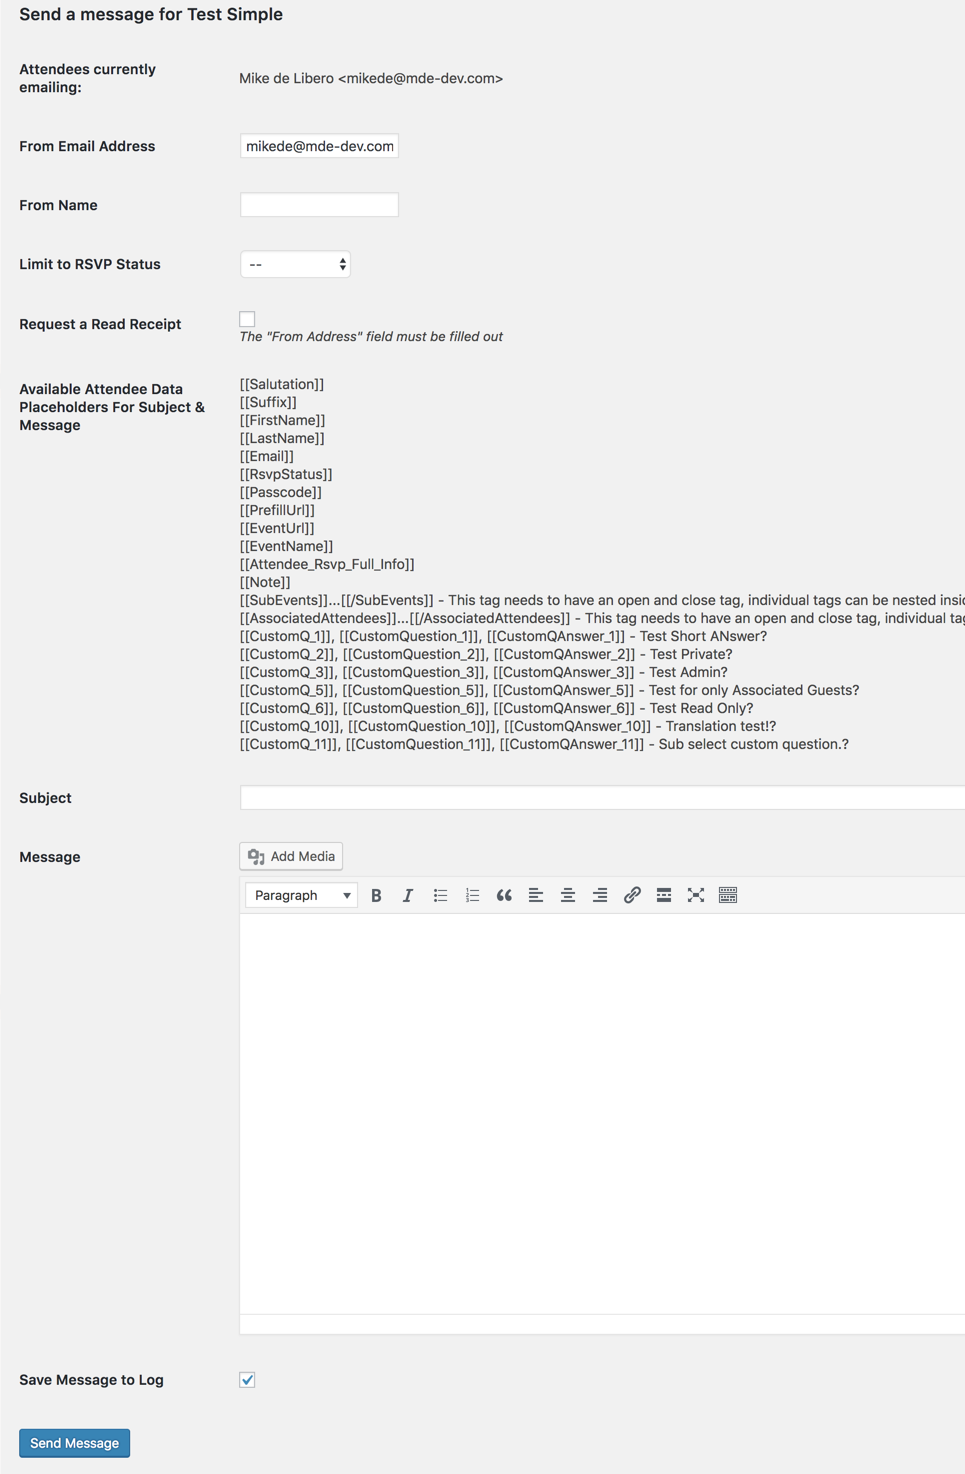
The “From Address” input allows you to specify the “from” email that the message will show as being sent from. Depending on your hosting provider and how your blog is setup, this field might be ignored in which case the from address your hosting provider setup will be used. It also raises the chances of making the email look like spam. It can be useful if you are trying to have the replies of the emails go directly into your inbox.
The “From Name” input specifies the name of the email comes across as this will show as the friendly name instead of the just the email address.
The “Limit to RSVP Status” is the only filtering option on this form. This allows you to only send a message to a subset of the attendees who have a given RSVP status. For example, if you want to remind everyone that has not RSVP’d yet that they should do so soon, you would select the RSVP status of “No Response” and the message would only send to those attendees who have not RSVP’d.
The “Request a Read Receipt” checkbox is to specify if the sender should receive a read receipt from the message that is sent.
The next area is a list of placeholders that can be used in the subject or the body of the message. These placeholders will be replaced with the actual value when sending the message. Each placeholder is described below:
– [[Salutation]] : The salutation of the attendee.
– [[Suffix]] : The suffix of the attendee.
– [[FirstName]] : The first name of the attendee.
– [[LastName]] : The last name of the attendee.
– [[Email]] : The email of the attendee.
– [[RsvpStatus]] : The RSVP status for the attendee.
– [[Passcode]] : The passcode for the attendee.
– [[PrefillUrl]] : A URL the attendee can click to take them right to the RSVP form skipping the attendee look-up step.
– [[EventUrl]] : The URL that an attendee can use to RSVP to the event.
– [[EventName]] : The name of the event.
– [[Attendee_Rsvp_Full_Info]] : This will be replaced with all of the information for the attendee. It will be the exact same output as what is sent to attendee when they RSVP.
– [[Note]] : The note the attendee typed in when RSVP’ing.
– [[SubEvents]]…[[/SubEvents]] : Nested tags can be put in here to show the information for any sub-events this event might have.
– [[AssociatedAttendees]]…[[/AssociatedAttendees]] : Nested tags can be placed in here to display information for associated attendees.
– [[CustomQ_XXX]] : The answer to the custom question related to the id (represented by XXX).
Using these placeholders allows you to make the subject or the message be different per-attendee. For example, even if you send an email to many different people, Jane Doe will only see her first and last name in the email, if those placeholders are used.
The “Subject” area, this will be the subject of the email.
The “Message” area. This will be the body of the email being sent out. You can add HTML and images to it just like you would a blog post.
Finally, there is a checkbox for “Save Message to Log” which is checked by default. This will save the message and its details along with when it was sent.
Once you are ready to send the message just click the “Send Message” button and emails will be sent to your attendees.
Accessing Previous Sent Messages
With the release of version 3.5.2 there is the ability to log messages. To access messages go to the event list area and you will see the link “Message Logs.” 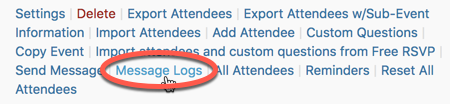
When you click on that link you are able to see all of the past messages sent. From this list, you can resend the message and click on the subject to see the details you can see all of the information for the message along with who was emailed in this message.
 This can be useful in case you don’t want to retype messages or quickly resend a message to the same people with just a small change in the email.