This article goes over the step-by-step guide on how to install and activate the RSVP Pro plugin after you have purchased it.
1) Download the plugin:
In your confirmation email, there will be a link that is similar to the one below (your version number may be different):

Click the link and save the zip file in an easy-to-remember location.
2) Go to your WordPress admin area and then navigate to Plugins -> Add New:
2a) Click on the “Upload Plugin” button at the top:

2b) Click “Choose File,” followed by, “Install Now.”


3) On the new screen, click “Activate Plugin”:

4) The last step is to input in your license key. To do this, go to RSVP Pro -> License: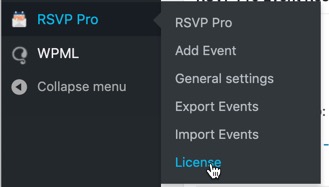
You will see the following screen:

Enter in your license and then click, “Save.” After saving, you should see the green-colored word, “active” as show below:

The next step is for you to use the plugin to manage your events!